
Get started with a Puppeteer Node.js template

Get started with Browserbase and Puppeteer in Node.js.
1

Get your API key

Your API key and Project ID are displayed in the Dashboard Navigation row:
Copy your API key and update your 
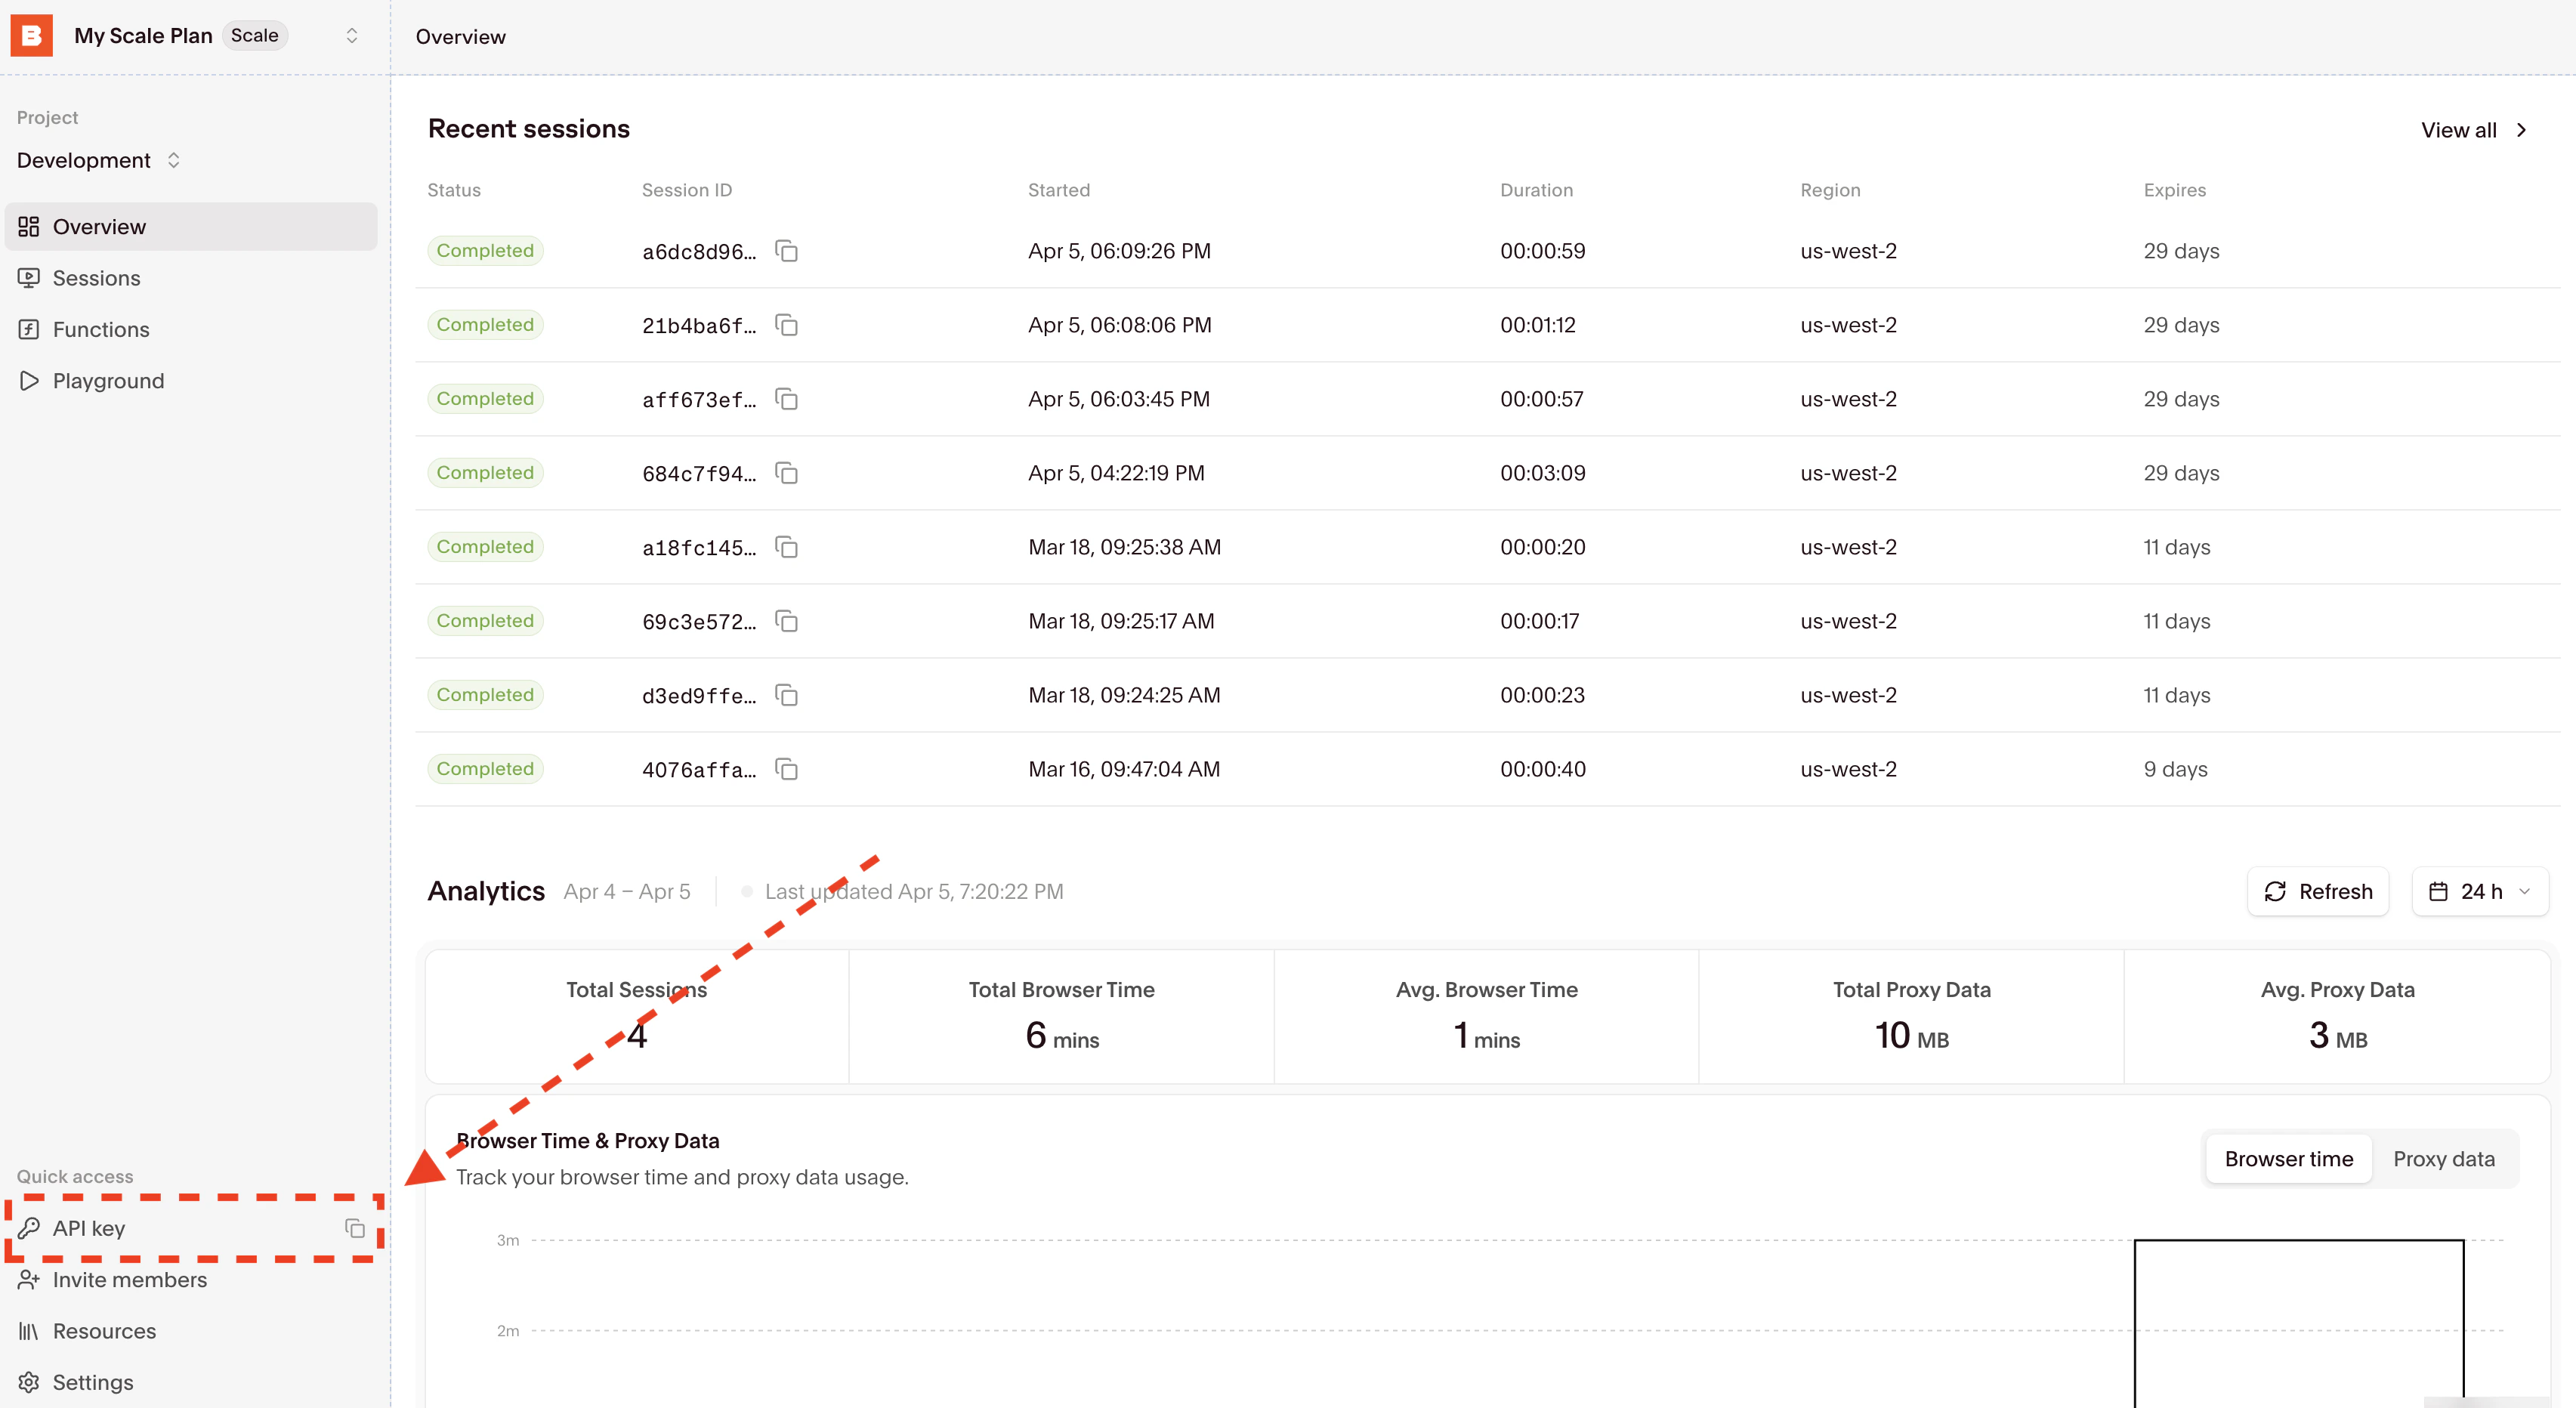
.env by adding the BROWSERBASE_API_KEY entry.Alternatively, you can temporarily set the environment variable for a single bash command by prefixing it with BROWSERBASE_API_KEY=<your_api_key> in your terminal.
2

Install dependencies

npm i puppeteer-core @browserbasehq/sdk

3

Update your code or clone a template

Running your existing code with Browserbase only requires a few line changes:
import puppeteer from "puppeteer-core";
import Browserbase from "@browserbasehq/sdk";

const bb = new Browserbase({
  apiKey: process.env.BROWSERBASE_API_KEY,
});

(async () => {
  const session = await bb.sessions.create();
  console.log(`Session created, id: ${session.id}`);

  const browser = await puppeteer.connect({
    browserWSEndpoint: session.connectUrl,
  });

  const page = await browser.newPage();

  await page.goto("https://www.browserbase.com/", {
    waitUntil: "domcontentloaded",
  });

  const debugUrl = await bb.sessions.debug(session.id);
  console.log(
    `Session started, live debug accessible here: ${debugUrl.debuggerUrl}.`,
  );

  console.log("Taking a screenshot!");
  await page.screenshot({ fullPage: true });

  console.log("Shutting down...");
  await page.close();
  await browser.close();

  console.log(
    `Session complete! View replay at https://browserbase.com/sessions/${session.id}`,
  );
})();
Set your BROWSERBASE_API_KEY in the environment variables.
4

Inspect the completed session

Find your recent sessions on the overview dashboard:
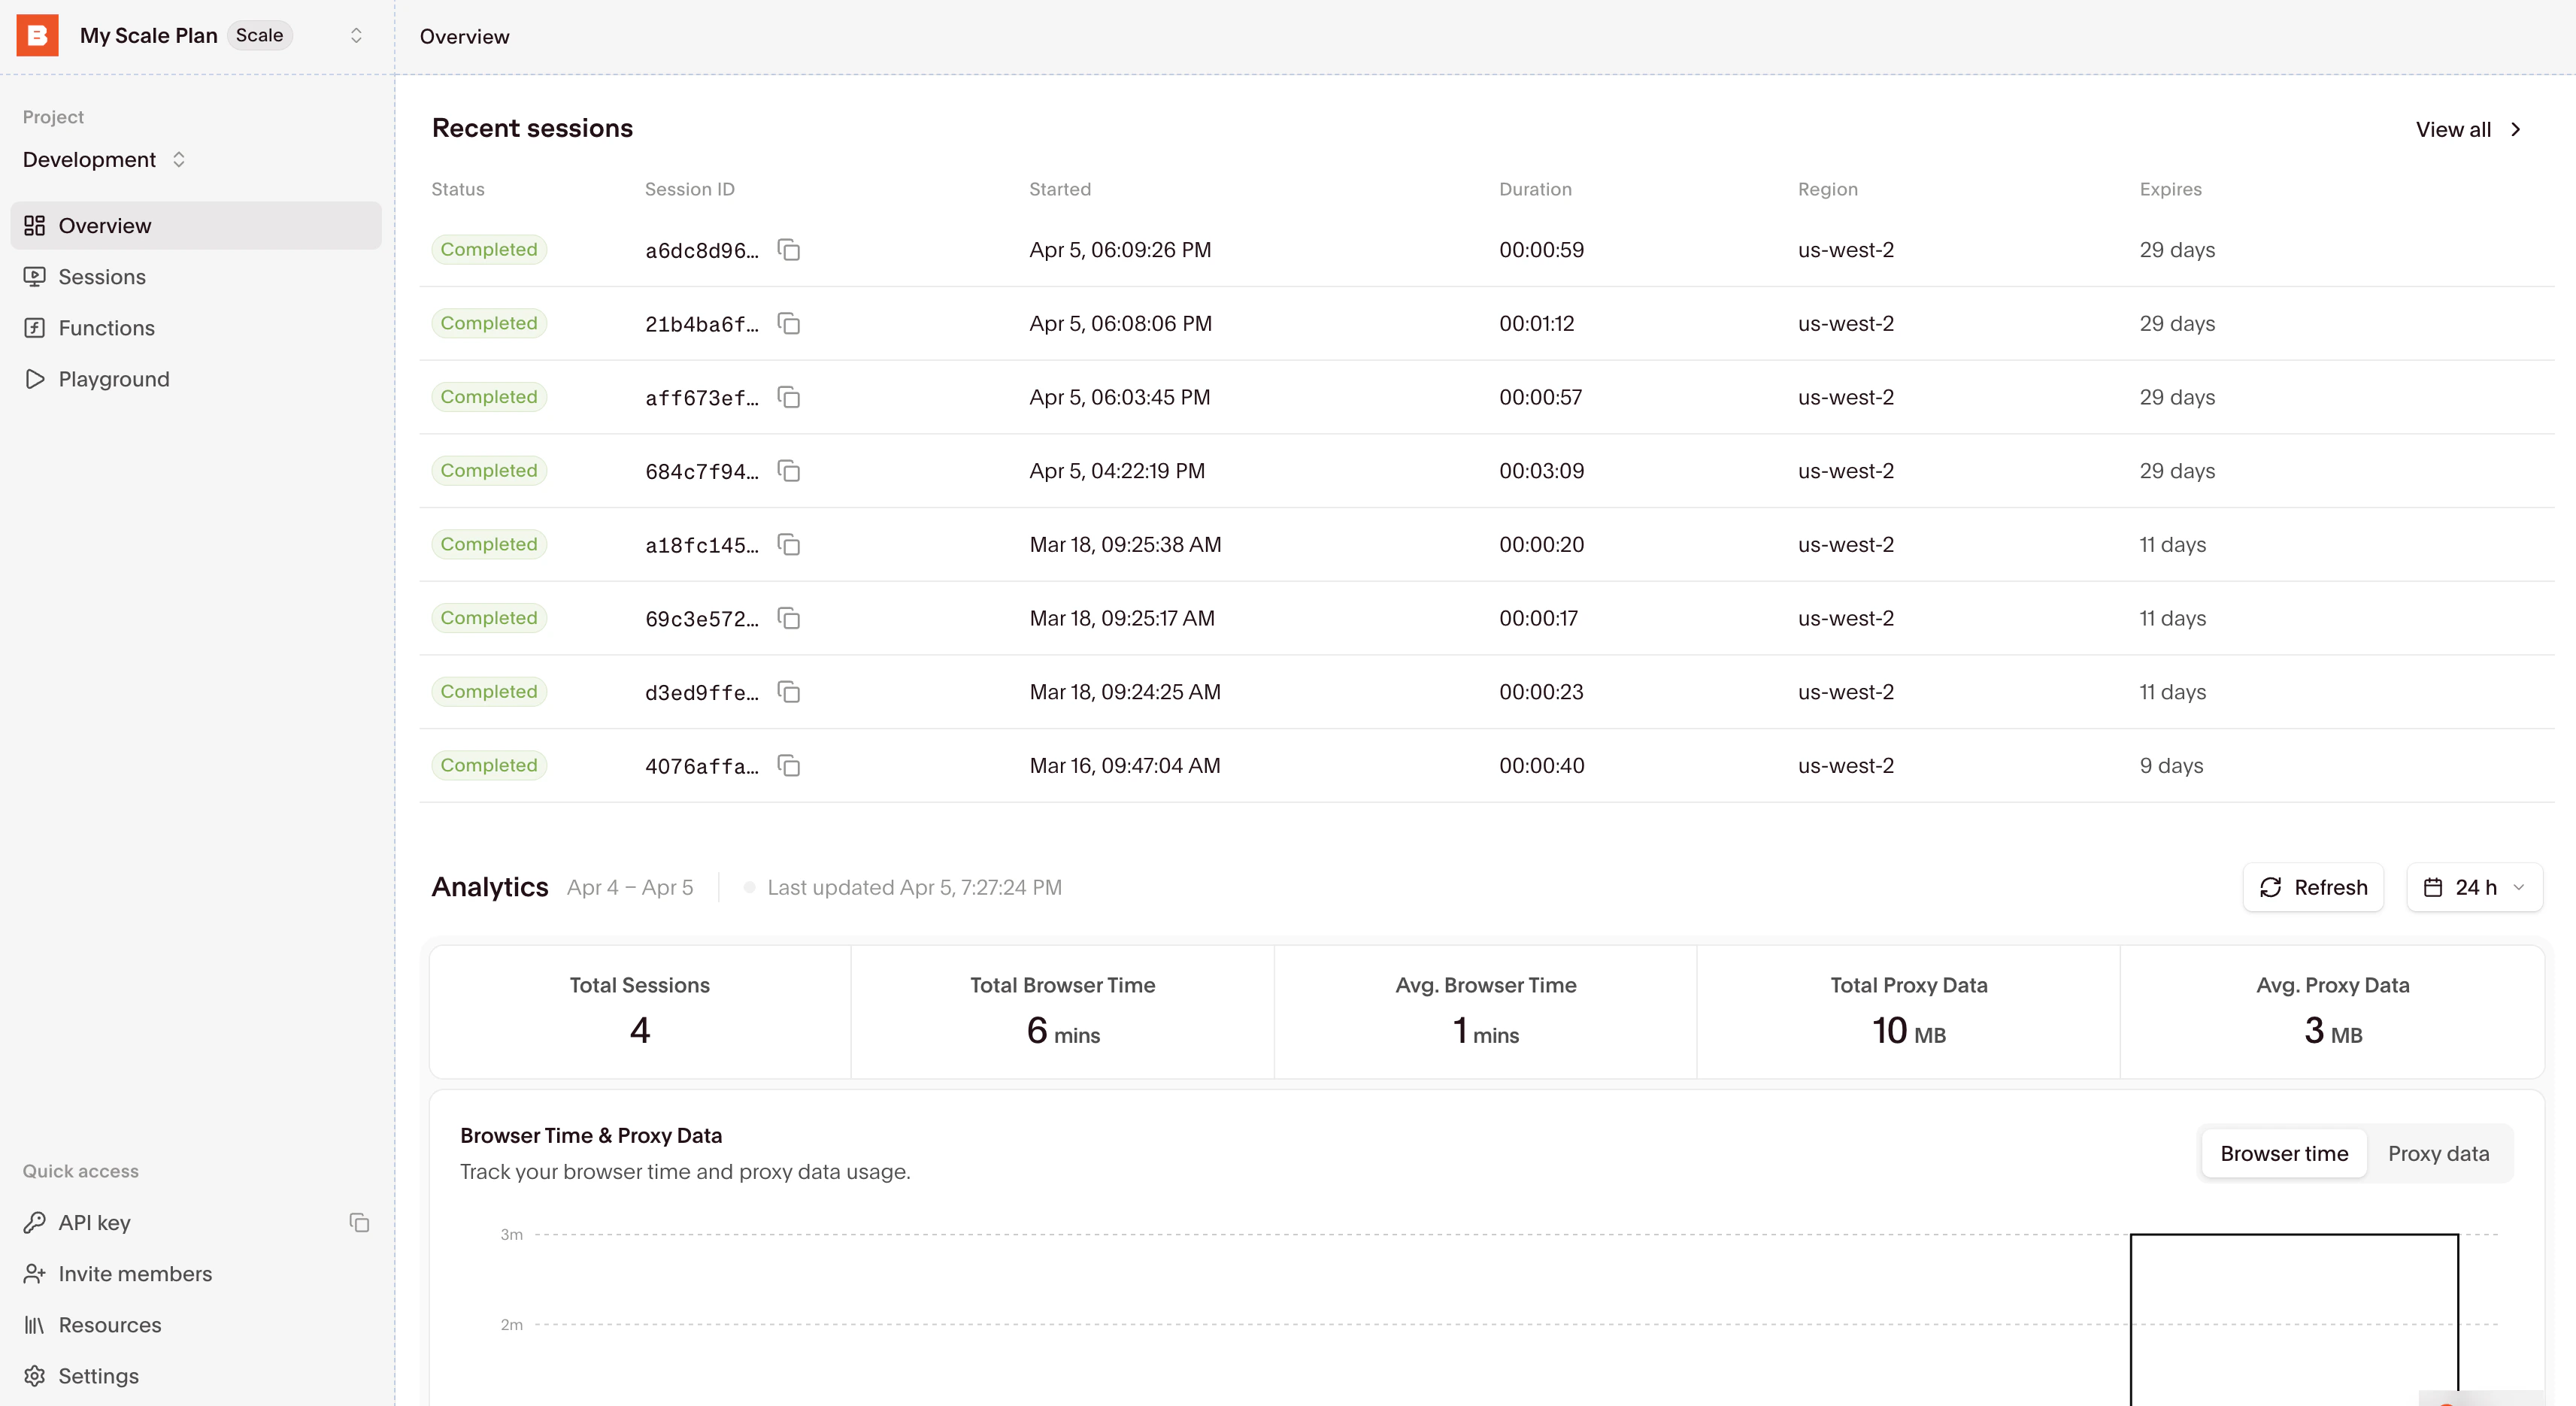
Select a session to inspect it with the Session Inspector.

Start building

Using browser sessions

Learn how to connect to and interact with browser sessions effectively.

Managing sessions

Understand how to properly end sessions and manage their lifecycle.